A Preferences Panel
This project brings together everything from Module 2 — frames, panels, widgets, sizers, menus, and custom dialogs — into a single finished app. The result is a preferences dialog of the kind that appears in almost every real desktop application.
By the end you will have a tabbed preferences dialog with OK, Cancel, and Apply buttons, dirty state tracking, and four categories of settings across four tabs.
Wx::Notebook
Wx::Notebook is the tabbed container widget. Each tab is a separate panel added to the notebook — the notebook handles the tab strip and switching between panels automatically.
|
|
Each page is a plain Wx::Panel. You add widgets to each panel exactly as you would to any other panel — with sizers. The notebook itself goes into the parent’s sizer like any other widget.
That is all you need to know to use it. The capstone will show it in context.
What we are building
A preferences dialog launched from a menu item. The dialog has four tabs:
- General — username, auto-save interval, startup behaviour
- Appearance — theme selection, font, UI density
- Network — proxy settings, timeout, connection options
- Advanced — debug logging, cache size, reset button
The main frame is minimal — a text area showing the current preferences, and a Preferences menu item to open the dialog.
Step 1 — The main frame
Create preferences_app.rb:
|
|
We pass @prefs.dup to the dialog so changes inside the dialog do not affect the main app until the user clicks OK. This is the standard pattern for preferences dialogs — the dialog works on a copy, and only on OK do we accept the result.
Step 2 — The dialog skeleton
Add the PreferencesDialog class above PreferencesFrame in the file:
|
|
Run it — the frame opens, the Preferences menu item is there, but clicking it will crash because the page-building methods don’t exist yet. We add them one at a time.
Notice end_modal rather than close — dialogs use end_modal(return_value) to dismiss themselves and set the value that show_modal returns to the caller.
Step 3 — General tab
Add the first notebook page inside PreferencesDialog:
|
|
Also fill in apply_prefs with the General values:
|
|
Run it. The Preferences dialog opens with a General tab. Change the username — the Apply button enables. Click Apply — Apply disables again. Click OK — the main frame’s preferences display updates.
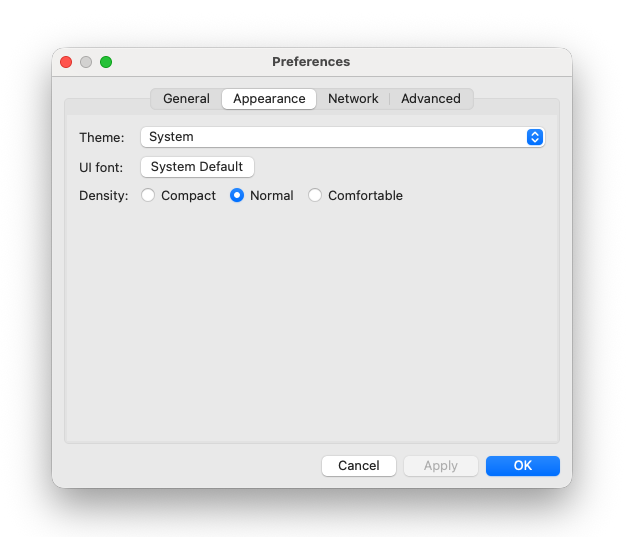
Step 4 — Appearance tab
|
|
Add Appearance values to apply_prefs:
|
|
Run it. Two tabs working. The font button opens a font picker mid-dialog — a dialog inside a dialog — and updates the button label with the chosen font name.
Step 5 — Network tab
|
|
Add Network values to apply_prefs:
|
|
Run it. The Network tab shows how widgets can enable and disable each other in response to a checkbox — the proxy host and port grey out when the proxy checkbox is unchecked.
Step 6 — Advanced tab
|
|
The reset button dismisses the dialog with Wx::ID_OK — the main frame sees this as a normal OK and would replace its preferences with whatever dialog.prefs contains. To make reset work properly, the main frame needs to handle it: check whether the returned prefs equal the defaults. For this capstone we keep it simple — the caller can detect a reset by comparing the returned prefs to the defaults. Add Advanced values to apply_prefs:
|
|
The finished app
Run it. Four tabs, all widgets wired, Apply enables only when something has changed, OK saves and closes, Cancel discards, the font picker works mid-dialog, and the proxy fields enable and disable correctly.
The complete file listing is long — rather than repeating it here, make sure your file has these elements in order:
require 'wx'

class PreferencesDialog < Wx::Dialog
  attr_reader :prefs

  def initialize(parent, prefs) ... end

  private

  def build_ui ... end
  def bind_events ... end
  def build_general_page ... end
  def build_appearance_page ... end
  def build_network_page ... end
  def build_advanced_page ... end
  def apply_prefs ... end      # all tabs combined
  def update_proxy_fields ... end
  def mark_dirty ... end
  def mark_clean ... end
  def on_ok ... end
  def on_cancel ... end
  def on_apply ... end
end

class PreferencesFrame < Wx::Frame
  ...
end

Wx::App.run { PreferencesFrame.new.show }
What this project demonstrates
Every concept from Module 2 appears here:
- Frames and panels — the main frame and each notebook page
- Core widgets — TextCtrl, CheckBox, RadioButton, SpinCtrl, Choice, Button
- Sizers — FlexGridSizer for form rows, HBoxSizer for inline groups, VBoxSizer for page layout
- Menus — the Preferences menu item launching the dialog
- Dialogs — a custom dialog, a font picker inside it, and a confirm box inside that
- Dirty state — Apply enables only when something has changed, disables after applying
The widget-enabling pattern on the Network tab (update_proxy_fields) is one you will use constantly in real apps — a checkbox or radio button controlling whether related fields are active.
Previous: Dialogs | Next: Module 3 — Patterns and Architecture